Yosensi EverLink Pro – LoRaWAN Gateway
This guide will help you set up and manage your LoRaWAN EverLink Pro efficiently. Whether you are deploying a single EverLink Pro or managing multiple, this page provides all the key details.
EverLink Pro Overview
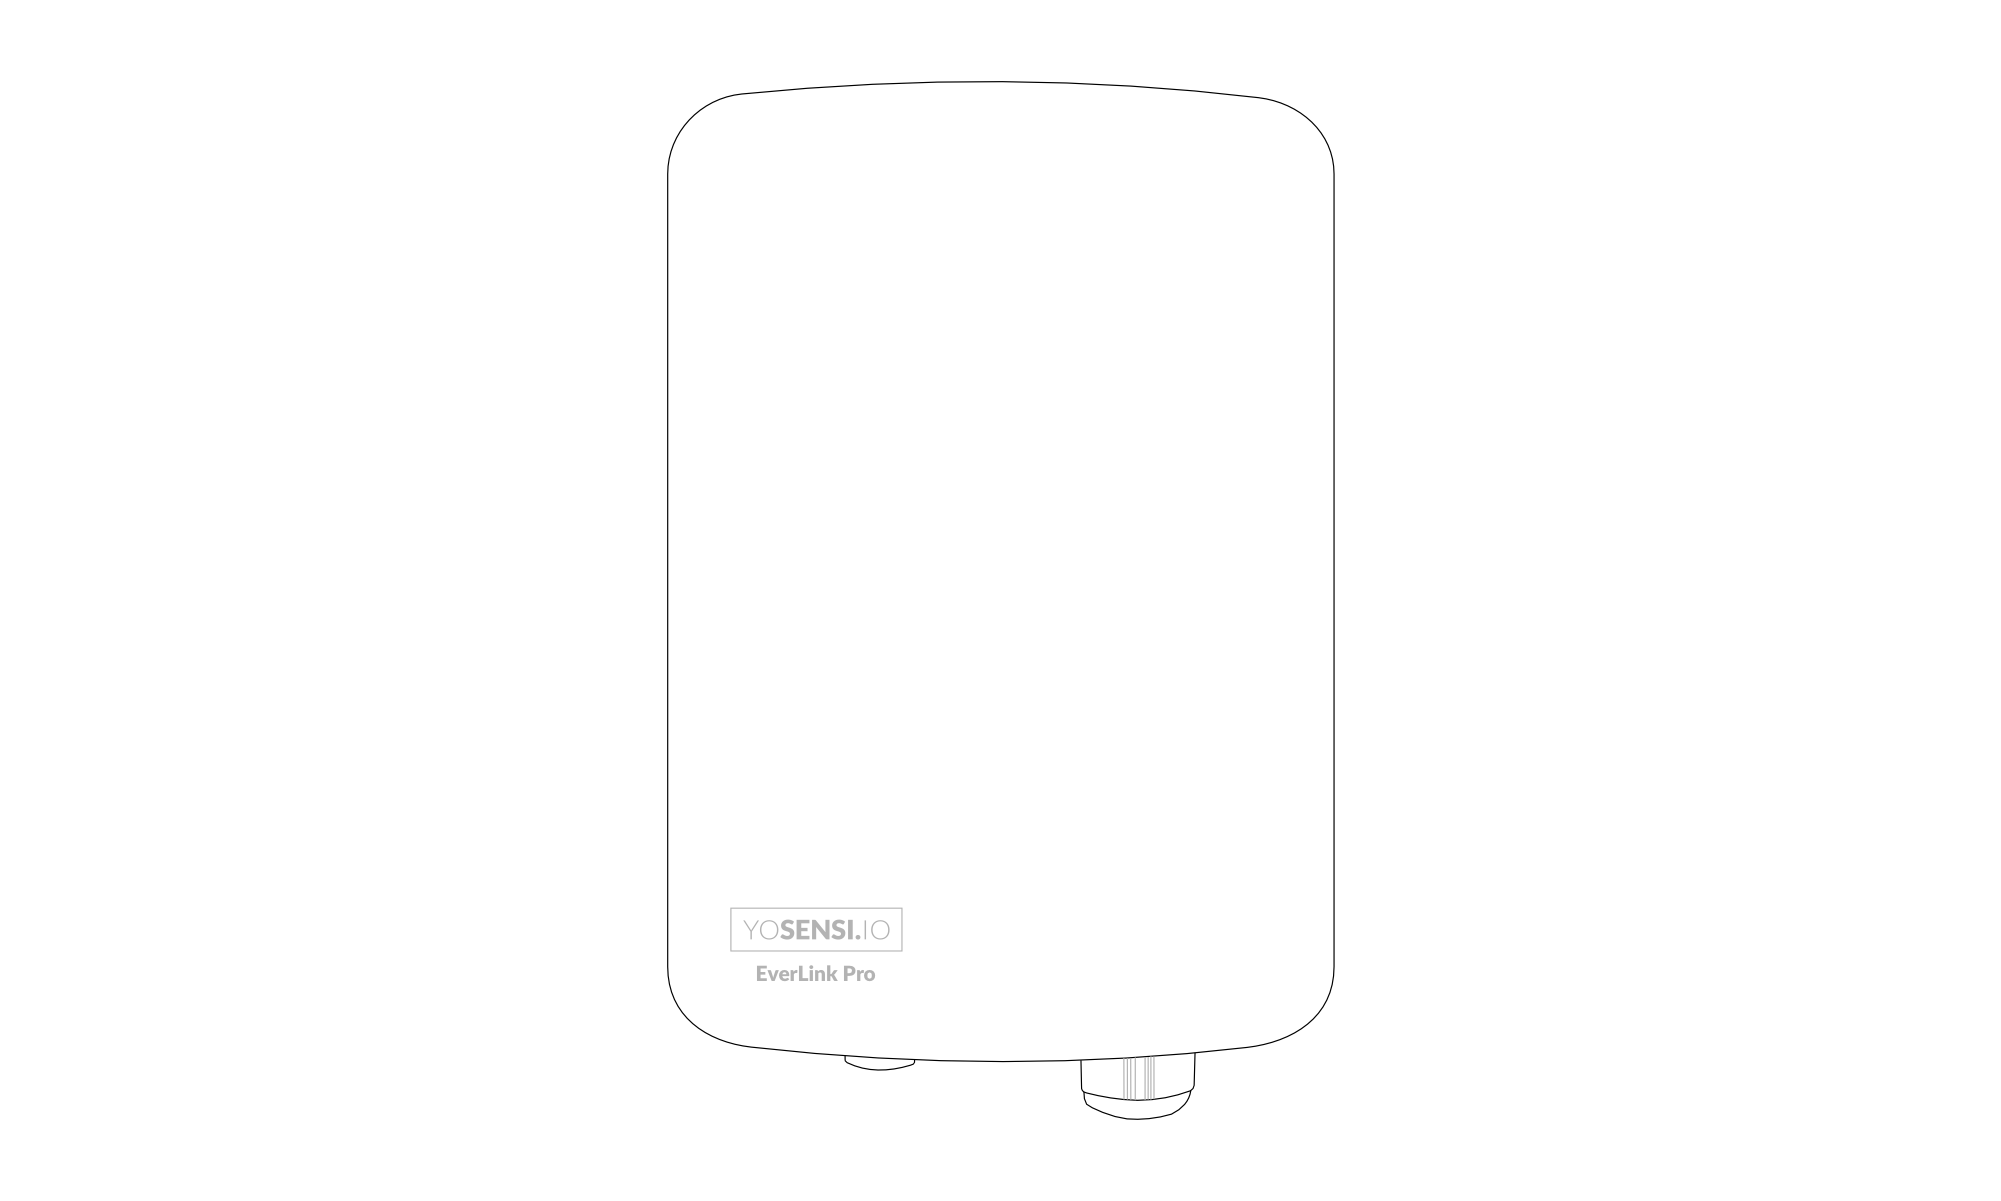
Figure 1. EverLink Pro top view
- Model: EverLink Pro
- Frequency Band: EU868, US915
- Connectivity: Ethernet, Wi-Fi, Bluetooth, Cellular, LoRaWAN
Key Features and Management
Management Options
- Cloud Management: Remote management via the Yosensi Cloud Platform (https://cloud.yosensi.io/).
- Local Management: On-device web interface, available through the gateway’s IP address.
- Yosensi Mobile Application: Currently supports gateway adoption and basic network interface configuration.
Data Forwarding
- Configure the EverLink Pro to forward uplink and downlink data to your LoRaWAN Network Server.
- Set up redundancy for critical applications.
Monitoring and Diagnostics
- Access real-time data and diagnostics:
- Signal strength (RSSI/SNR).
- Uplink and downlink packet logs.
- Monitor EverLink Pro health, including CPU, memory, and uptime.
Firmware Updates
- Update EverLink Pro firmware to the latest version for improved performance and security.
Security Features
- Enable encryption for data transmission.
- Ensure secure and convenient management through Cloud Management or Local Management.
Specifications
Physical
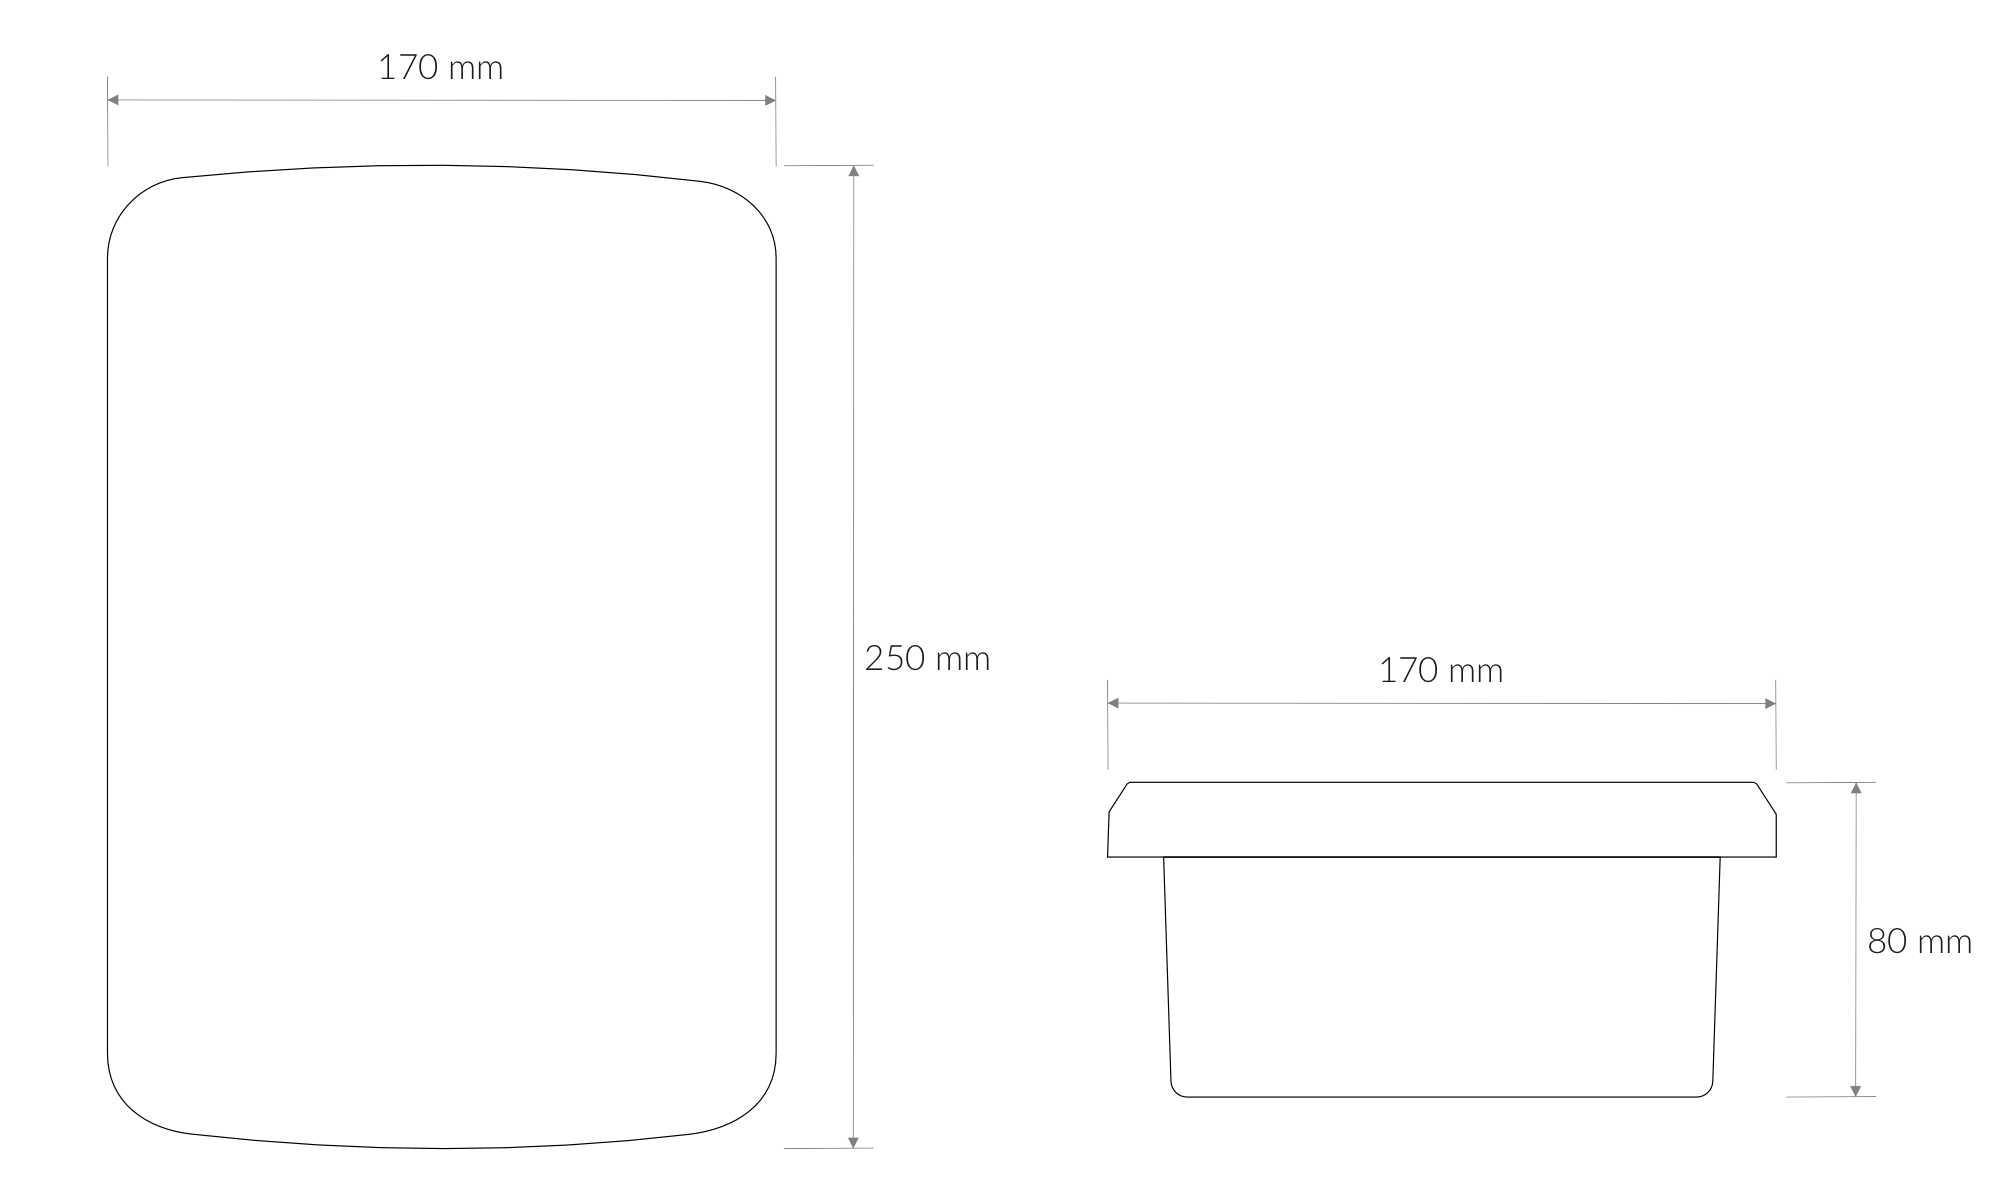
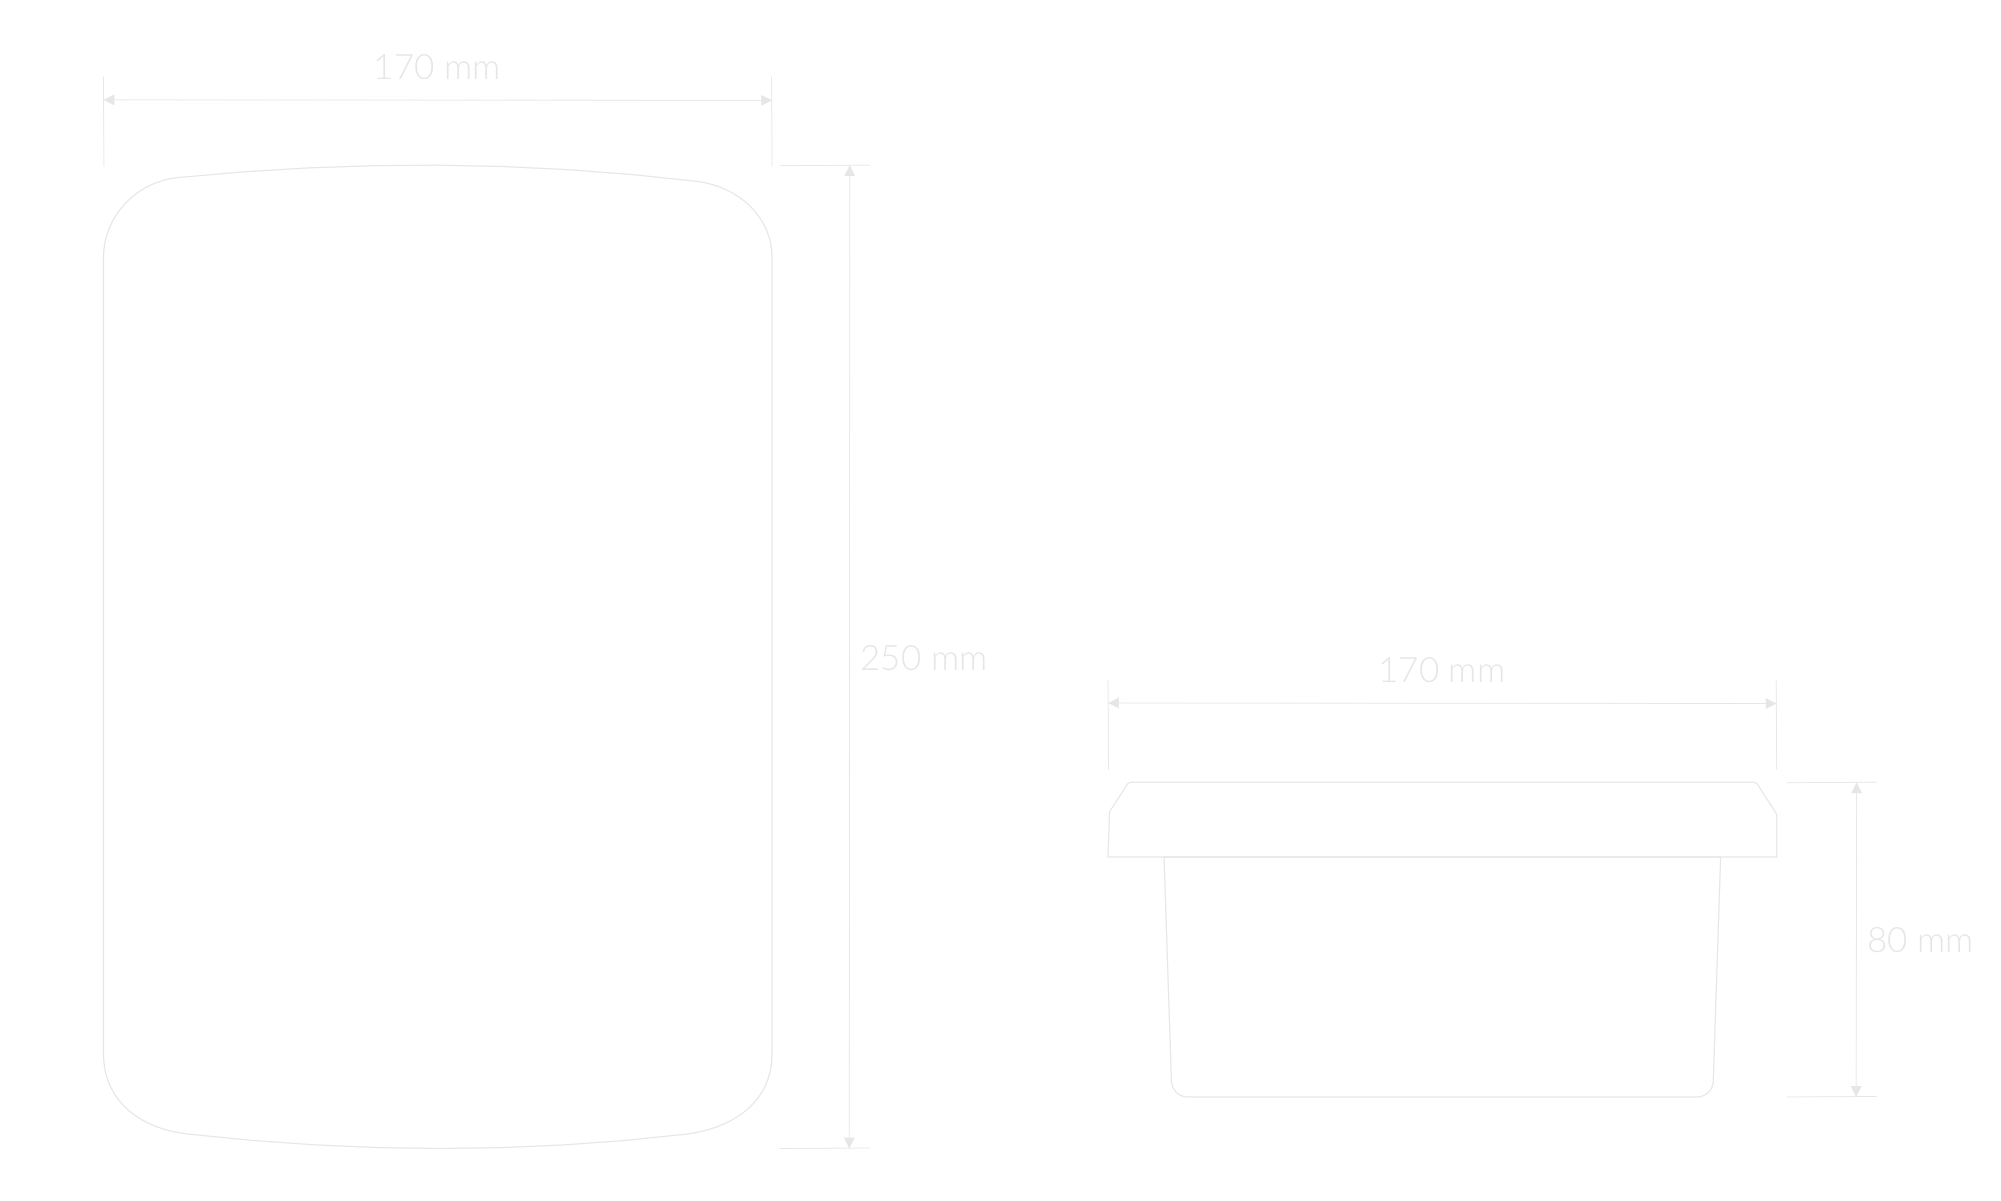
Figure 2. Dimensions of the device
Device
| Attribute | Description |
|---|---|
| Dimensions | Height: 60 mm Width: 145 mm Depth: 210 mm |
| Colour | White |
| Mounting method | Horizontal (brackets) Pole (brackets) |
| Enclosure material | ASA |
| Level of protection | IP68 |
| Weight | 314 g |
| Service/Boot port | USB-C |
| Wi-Fi | 2.4/5.0 GHz 802.11a/b/g/n/ac |
| Bluetooth® | v5.2 |
| Cellular | LTE Cat. 1 & Cat. 4 |
| Cellular Bands | 4G: B1, B2, B3, B4, B5, B7, B8, B12, B13, B14, B20, B25, B26, B28 3G: B1, B3, B8 2G: B3, B8 |
| Ethernet | 10/100Mbps IEEE802.3/802.3u |
Operating Conditions
| Attribute | Description |
|---|---|
| Temperature | 0°C to 70°C |
| Humidity | 0 to 90% |
| Placement | Indoor/Outdoor |
| Power supply | JACK 5.5/2.1 24 V DC RJ45 PoE (standard 802.3af / 802.3at) |
| Power consumption | Maximum: x mA DC (24 V DC) |
Controls and Indicators
LED Status Indicator
The YO EverLink Pro communicates its current status through LED indicators and a buzzer, with their placement shown in Figure 3 and 4.
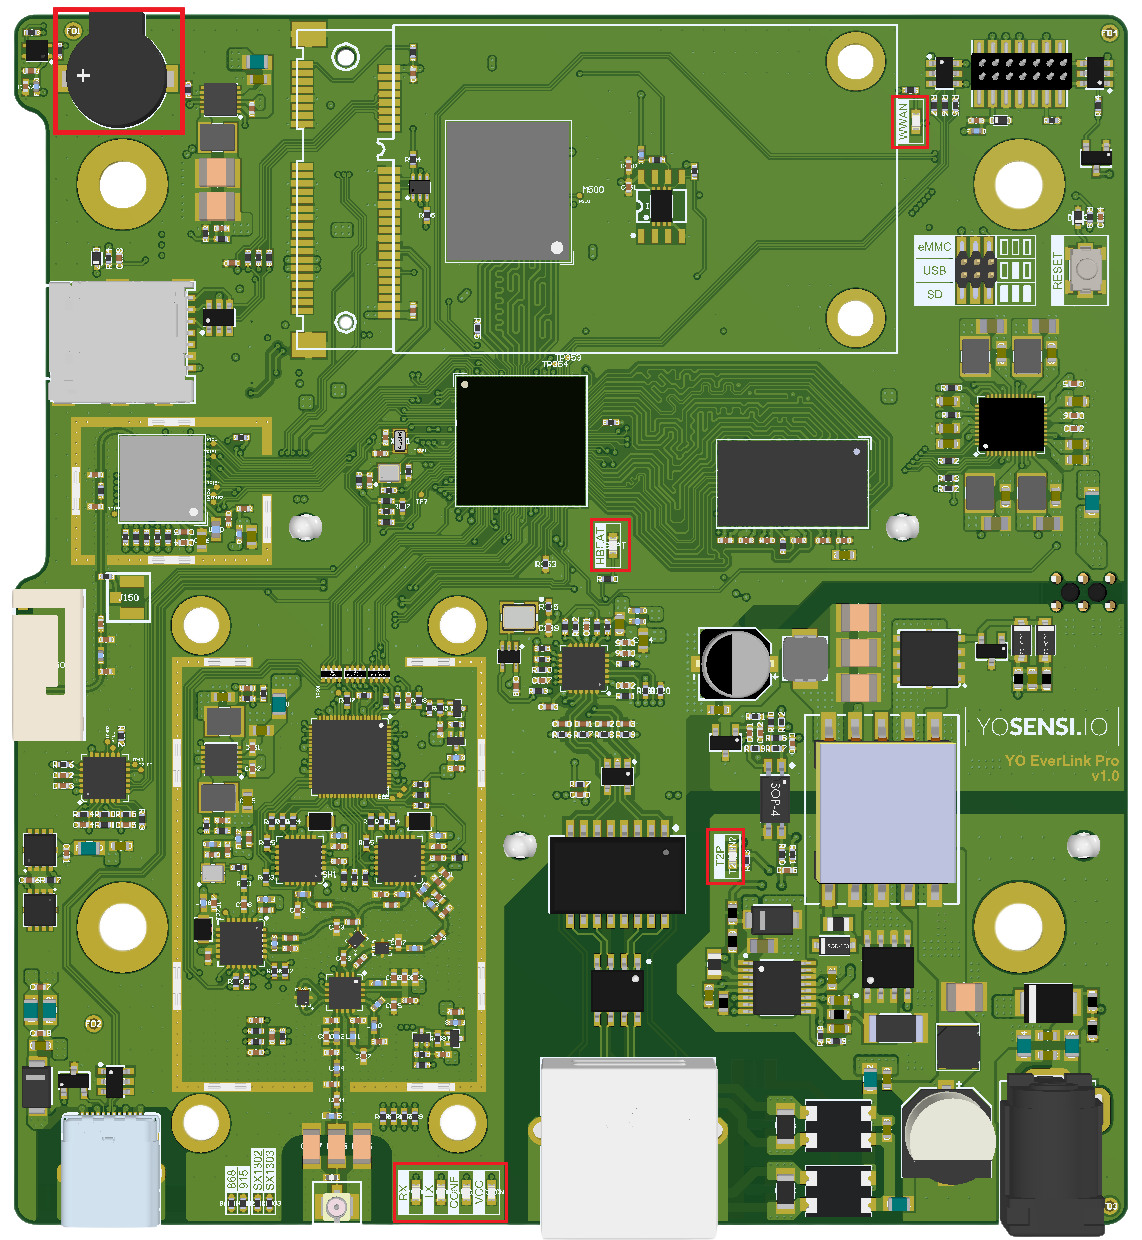
Figure 3. EverLink Pro PCB - Front View
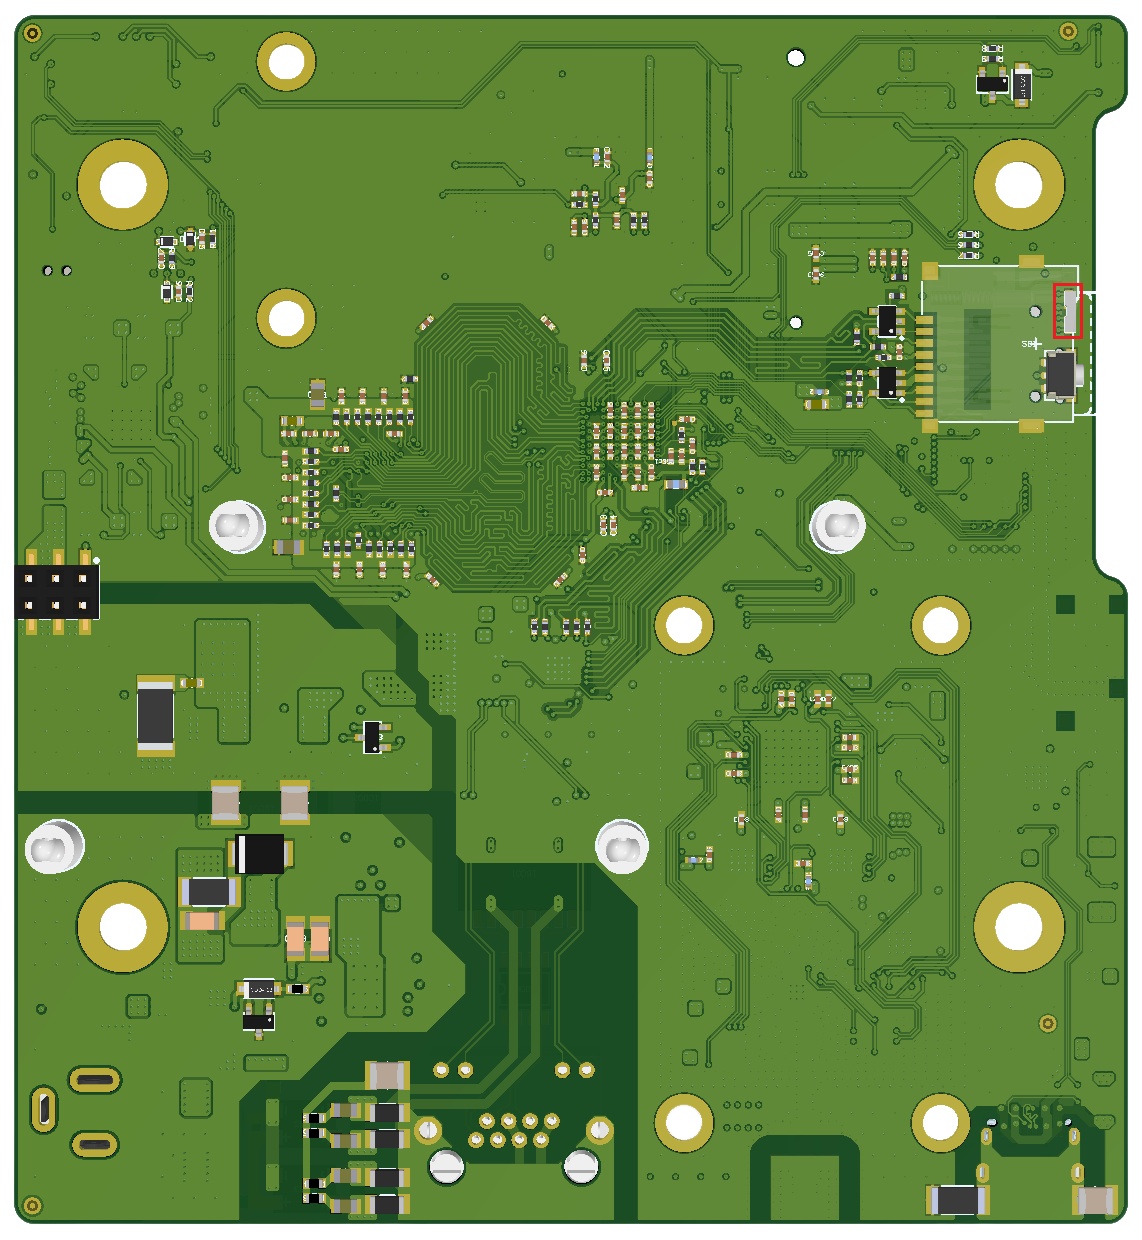
Figure 4. EverLink Pro PCB - Back View
RX/TX LED
| Behavior | Colour | Status |
|---|---|---|
| TBD | TBD | TBD |
CONF LED
| Behavior | Colour | Status |
|---|---|---|
| Single flash | Green | SX130X has been configured. |
VCC LED
| Behavior | Colour | Status |
|---|---|---|
| Single flash | Green | General: device is working correctly (power and memory). |
| Single flash | Red | General: device is working incorrectly (power and memory). LoRaWAN communication: failed to receive an acknowledgement from LoRaWAN Server within specified timeout. |
| TBD | TBD | TBD |
HBEAT LED
| Behavior | Colour | Status |
|---|---|---|
| Heartbeat flashing | Green | General: CPU is working correctly. |
T2P LED
| Behavior | Colour | Status |
|---|---|---|
| Single flash | Green | TBD |
WWAN LED
| Behavior | Colour | Status |
|---|---|---|
| Single flash | Green | General: Telit module is used for connectivity. |
Status LED
| Behavior | Colour | Status |
|---|---|---|
| Single flash | Green | General: device is working correctly (power and memory). |
| Single flash | Red | General: device is working incorrectly (power and memory). |
| TBD | TBD | TBD |
Buzzer
| Behavior | Status |
|---|---|
| Single beep | Device boot-up |
| TBD | TBD |
Buttons
The YO EverLink Pro has a button for resetting the device. Figure 5 shows its placement. To reboot the device, press the reset button for a moment.
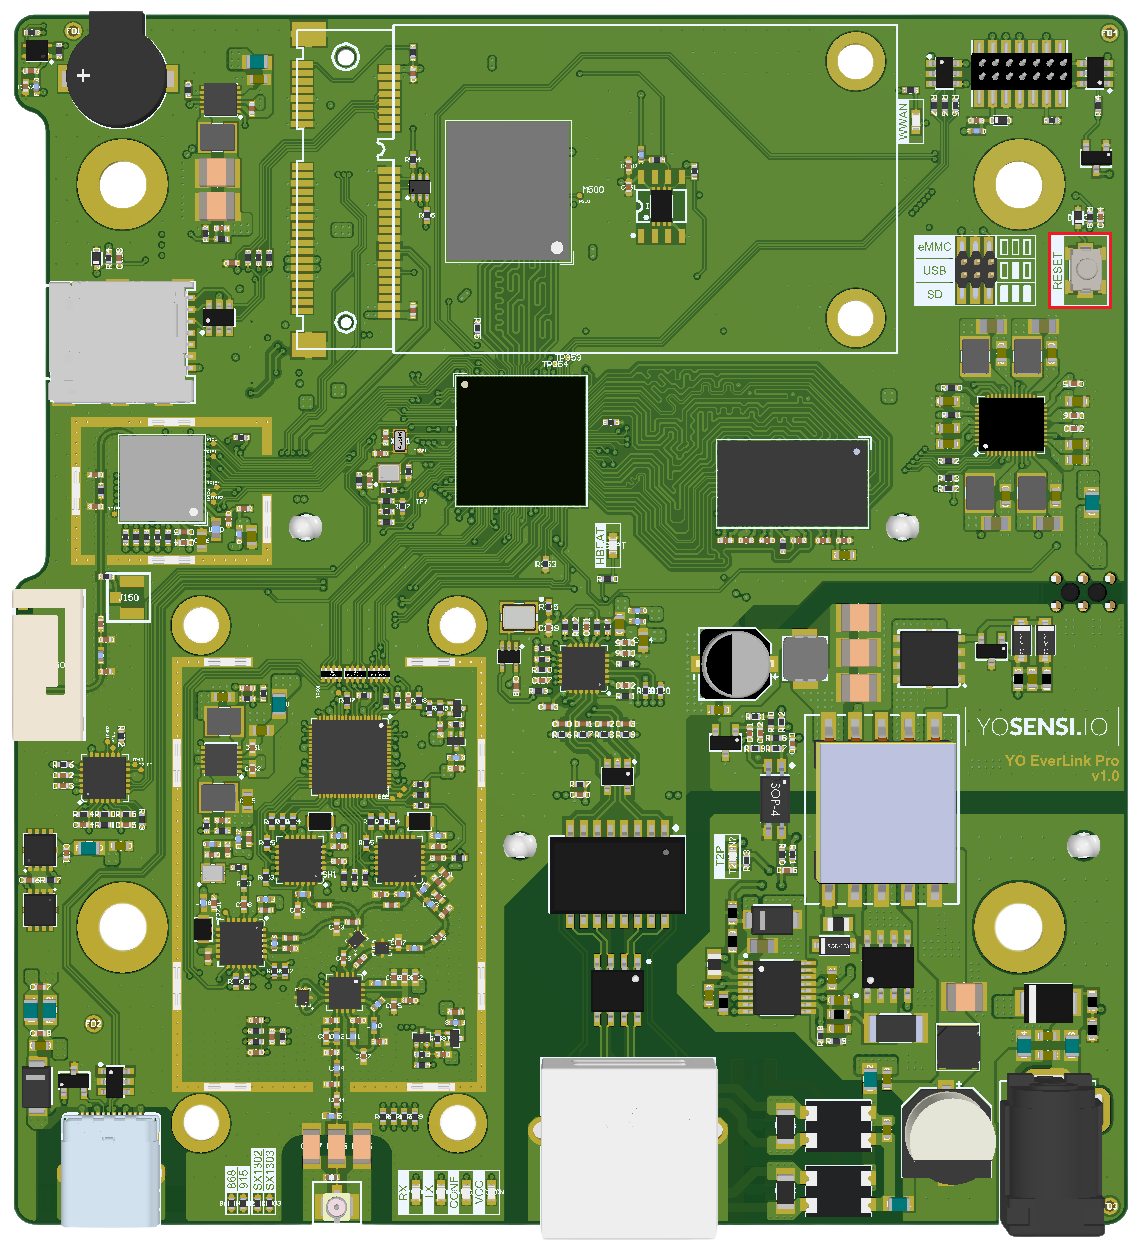
Figure 5. Reset button
Initial Setup
-
Physical Installation:
- Mount the EverLink Pro in a location with optimal coverage and minimal interference.
- Ensure proper power supply and environmental conditions.
-
Network Configuration:
- Connect the EverLink Pro to your network (Ethernet, Wi-Fi, or Cellular).
- Configure the network settings (IP address, DNS, etc.) via Local Management or the Yosensi mobile application.
-
EverLink Pro Activation:
- Log in to the gateway's web interface.
- Register the EverLink Pro on your LoRaWAN network server (LNS) using:
- EverLink Pro EUI (unique identifier).
- Network server credentials.
Installation and Placement
Proper installation and placement of the YO EverLink Pro are essential for optimal performance. Below are the recommended mounting methods and guidelines.
Available Mounting Methods
- Horizontal Mounting
- Use the provided brackets to securely mount the EverLink Pro on a flat horizontal surface, such as a shelf or a server rack.
- Ensure the surface is stable and free from vibrations.

Figure 6. Horizontal mounting method
- Pole Mounting
- Attach the included pole brackets to mount the EverLink Pro on a vertical pole.
- This method is ideal for outdoor installations where height improves signal coverage.
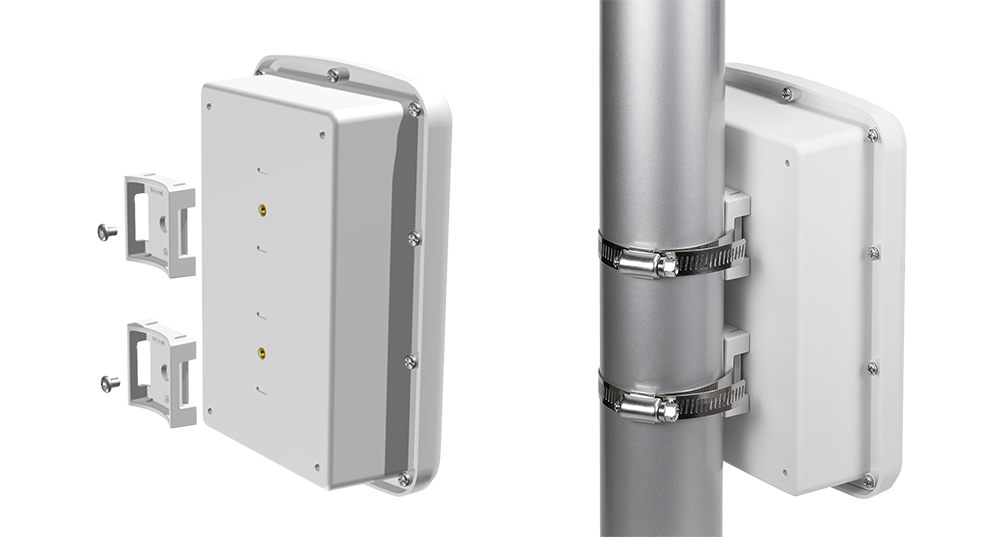
Figure 7. Pole mounting method
Installation Tips
-
Optimal Placement:
- Choose a location with minimal physical obstructions to ensure clear signal transmission.
- Avoid placing the EverLink Pro near sources of interference, such as large metal objects, electrical equipment, or dense foliage.
-
Environmental Considerations:
- Ensure the EverLink Pro is installed within the recommended operating temperature and humidity range.
- For outdoor installations, confirm the mounting area is weatherproof or within the gateway's IP68 protection limits.
-
Power Supply:
- Place the EverLink Pro near an accessible power source or ensure a PoE-capable Ethernet connection.
Mounting Accessories
| Accessory | Description | Usage |
|---|---|---|
| Horizontal Brackets | Pre-installed brackets for secure horizontal mounting | Indoor or flat-surface installations |
| Pole Brackets | Adjustable brackets compatible with various pole diameters | Outdoor or elevated installations |
Troubleshooting
Common Issues
- Connectivity Problems:
- Check network cables or Wi-Fi settings.
- Verify EverLink Pro EUI registration on the LNS.
- Device Not Connecting:
- Confirm device configuration (DevEUI, AppKey, frequency plan).
- Ensure the EverLink Pro is within range and signal is not obstructed.
- Data Not Forwarding:
- Check server credentials and integration settings.
Logs and Diagnostics
From Cloud Management or Local Management you can:
- Access system logs with detailed error messages.
- Use diagnostic tools to test network and radio functionality.
Support and Maintenance
- Scheduled Maintenance:
- Regularly check for firmware updates.
- Clean the EverLink Pro and check for physical damage.
- Support Contact:
- For support contact us at support@yosensi.io